How Professional Installers Prevent Silvering, Lift Lines, and Bubbles: Expert Paint Protection Film Tips
Paint protection film installation might appear straightforward, but achieving a flawless, professional finish requires genuine expertise. Vehicle owners who invest in quality paint protection film expect pristine results that preserve their vehicle's appearance while providing superior protection against road debris, scratches, and environmental damage. Unfortunately, common issues like silvering, lift lines, and bubbles can compromise even the most expensive PPF installation. Professional installers spend years perfecting techniques that eliminate these frustrating defects, combining meticulous preparation with precision tools and patient craftsmanship. Understanding what separates amateur work from expert installation helps you appreciate the value of professional paint protection film services and know what to expect from a quality job.
Professional paint protection film installers prevent silvering, lift lines, and bubbles through comprehensive surface preparation, proper application of slip solutions, controlled squeegee pressure, and strategic use of heat during installation. They also allow adequate curing time, typically one to two weeks, for residual moisture to evaporate completely before final evaluation. These proven methods ensure your vehicle's painted surfaces receive the smooth, bubble-free protection that lasts for years.
Understanding and Preventing Silvering
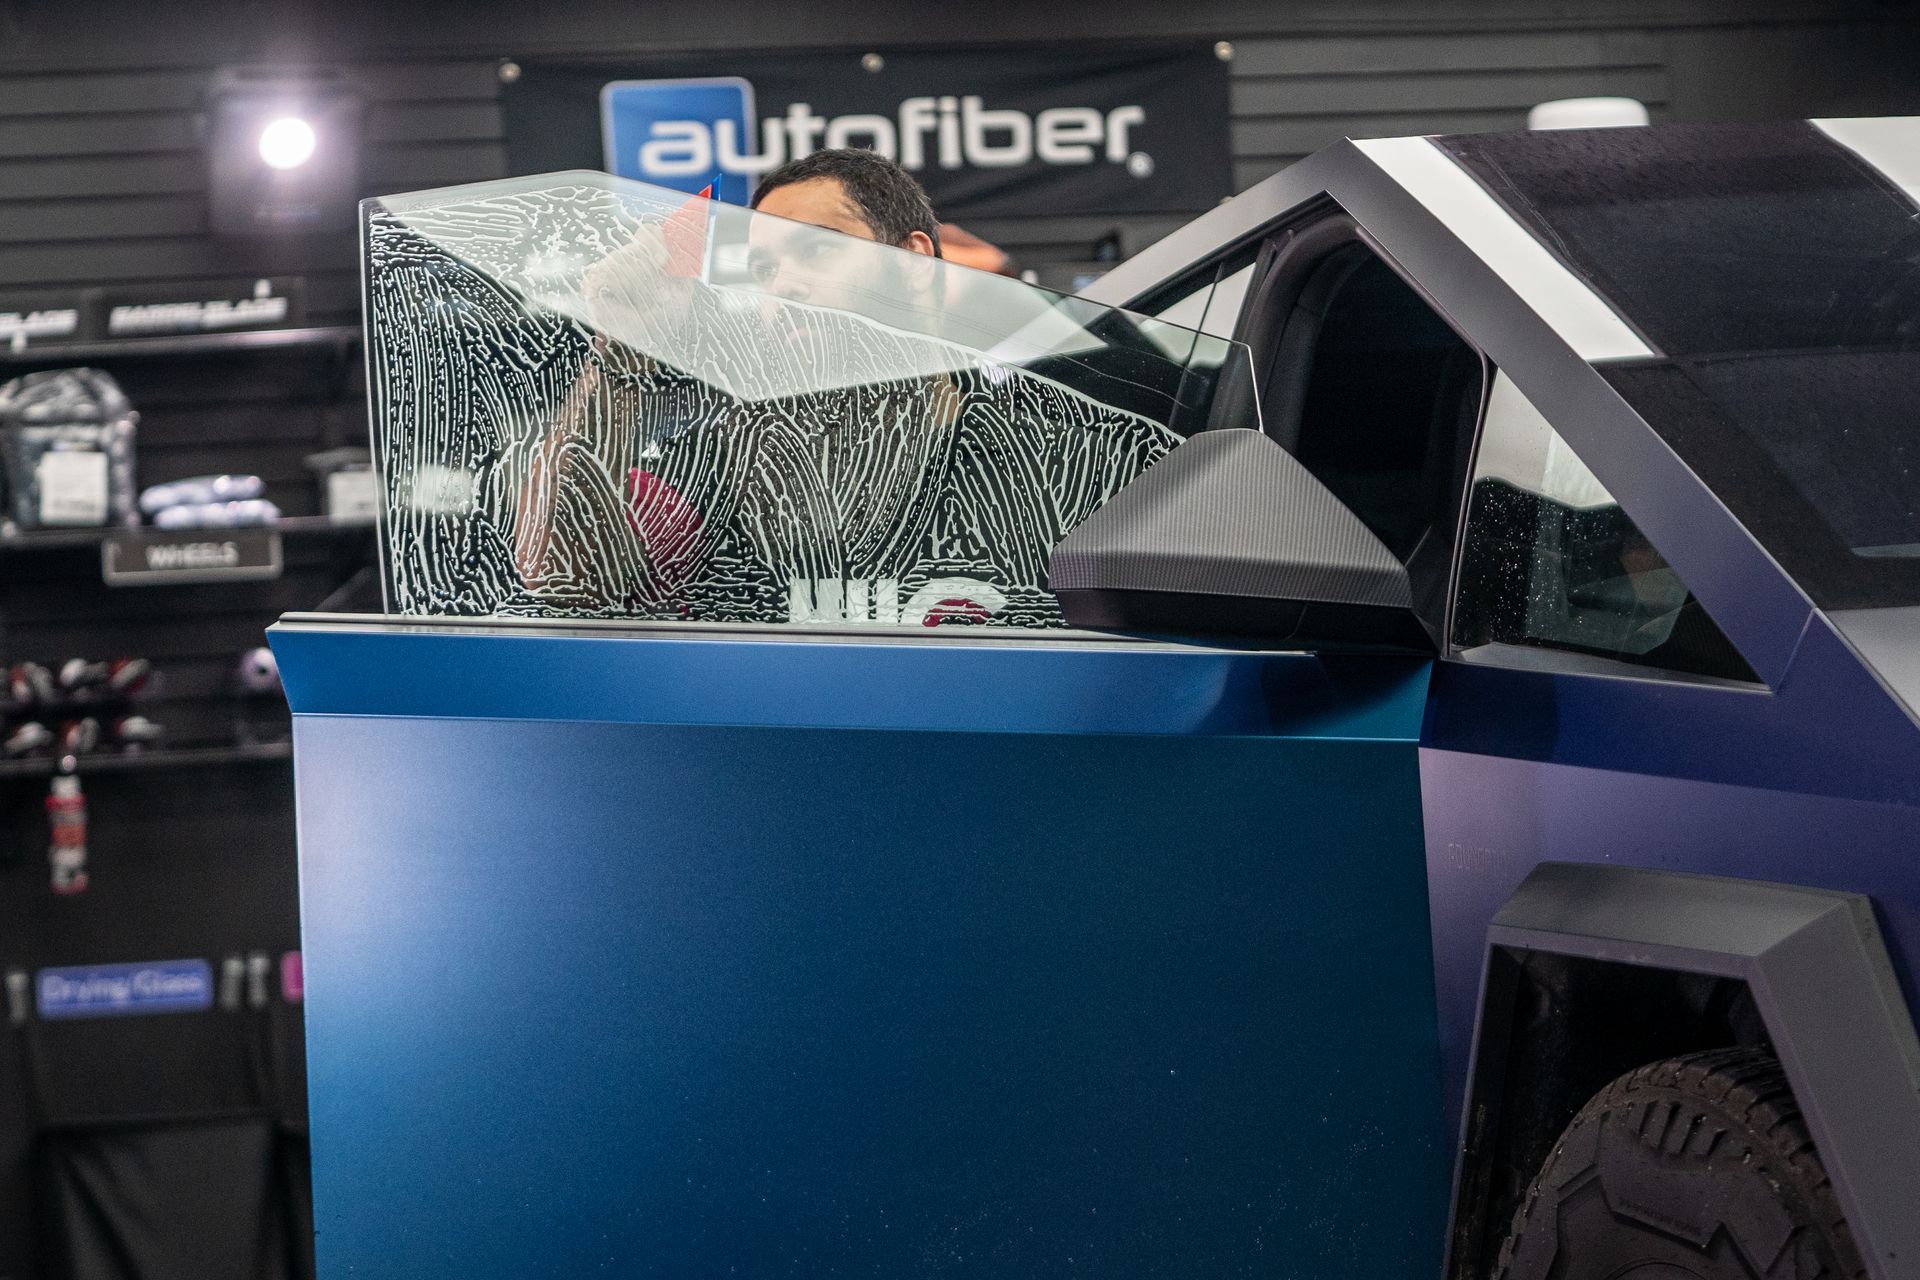
Silvering appears as a cloudy, speckled haze across protected surfaces, caused by microscopic air pockets trapped between the film and paint. This defect ruins the sleek appearance you paid for and signals weak adhesion that shortens your film's lifespan. Professional installers invest substantial effort in surface preparation to prevent this issue entirely. Meticulously cleaning the painted surface is the critical first step. Any trace of dust, dirt, wax residue, or invisible contaminants prevents proper film bonding, creating tiny gaps that manifest as silvering. Expert installers perform multiple cleaning passes using specialized solutions or isopropyl alcohol paired with lint-free microfiber cloths. This attention to detail creates an optimal foundation for flawless film application. A spotless surface directly affects adhesive performance and long-term durability.
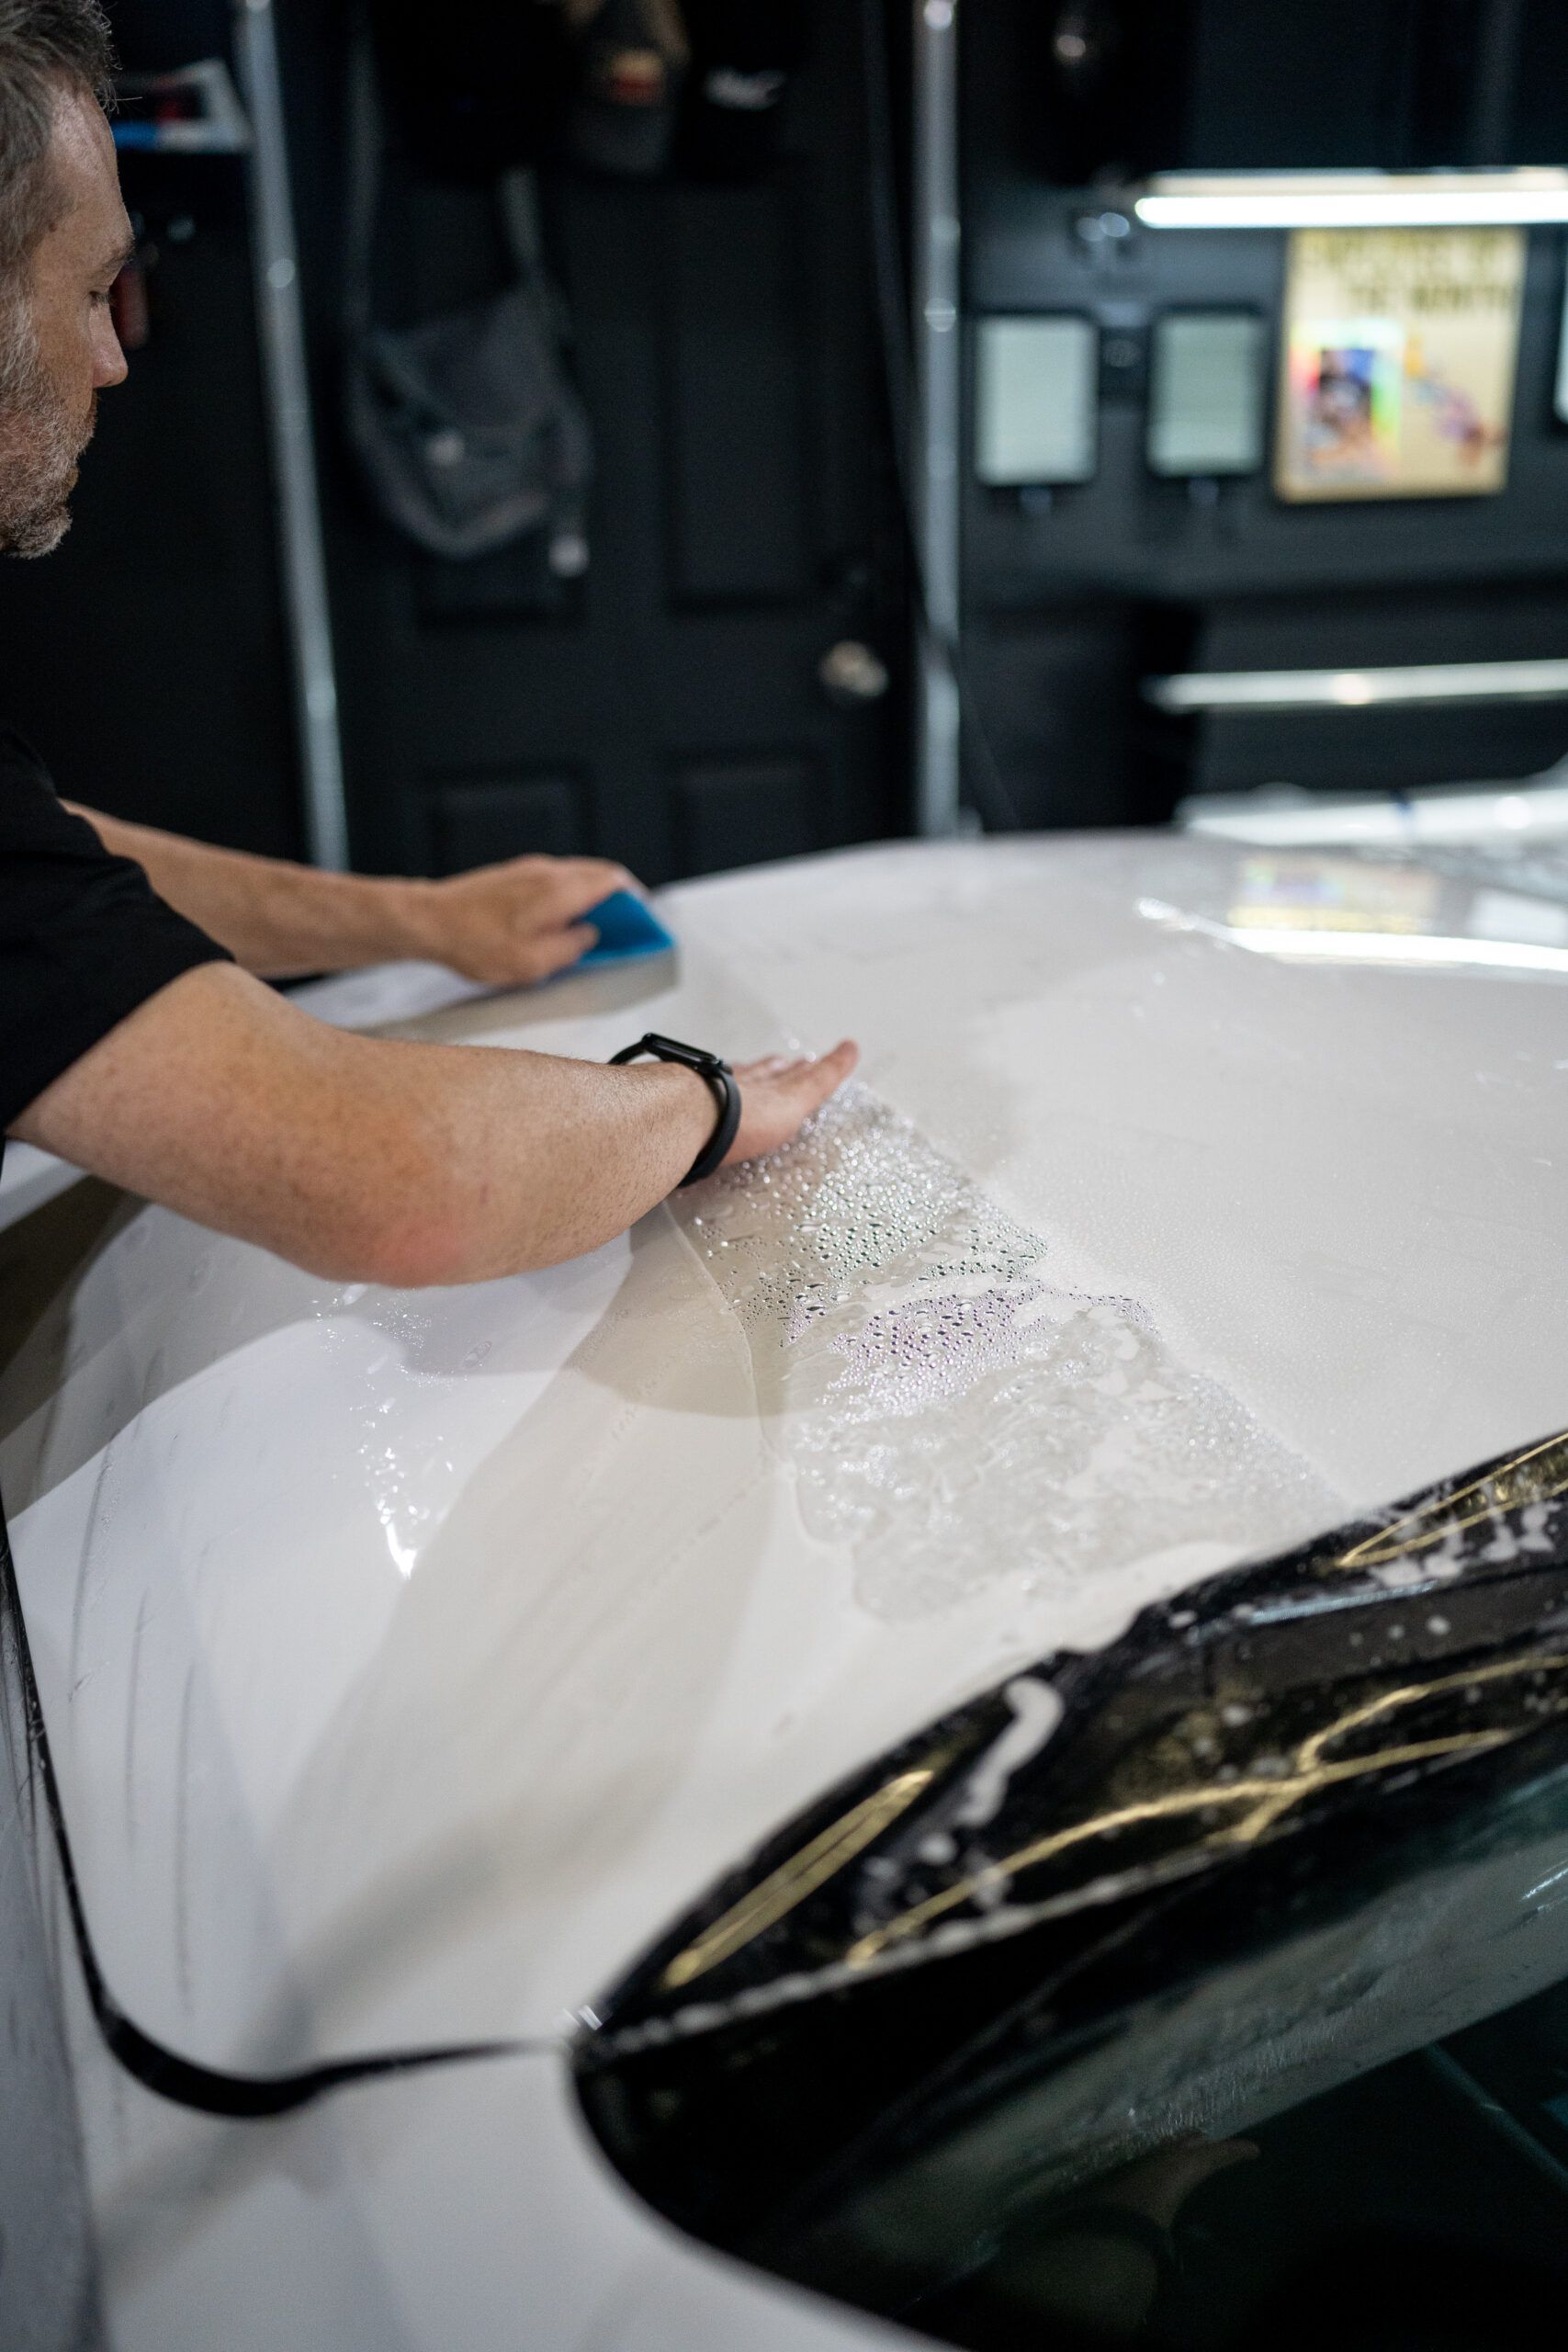
Once the paint is immaculate, installers apply generous amounts of slip solution to both the vehicle surface and the adhesive side of the protection film. This solution, typically water mixed with a small amount of mild soap, acts as a lubricant that enables precise film positioning. It prevents premature sticking that traps air pockets beneath the surface. After positioning the film correctly, using a high-quality squeegee becomes essential. Skilled technicians press firmly from the center outward, methodically pushing out air bubbles and excess slip solution. This step requires both patience and finesse. Aggressive or rushed pressure causes stretch marks or lift lines, while insufficient pressure leaves moisture trapped underneath. Controlled heat from a heat gun softens the film, making it more pliable and willing to conform to complex curves, body lines, and contours while sealing completely against the paint. The combination of pristine preparation, adequate lubrication, careful smoothing, and judicious heat application greatly reduces silvering risk by eliminating conditions that foster air gap formation. This process demands technical skill, patience, and quality tools. Shortcuts almost always invite bubbling or hazy discoloration that appears weeks or months after installation.
Addressing Lift Lines Effectively
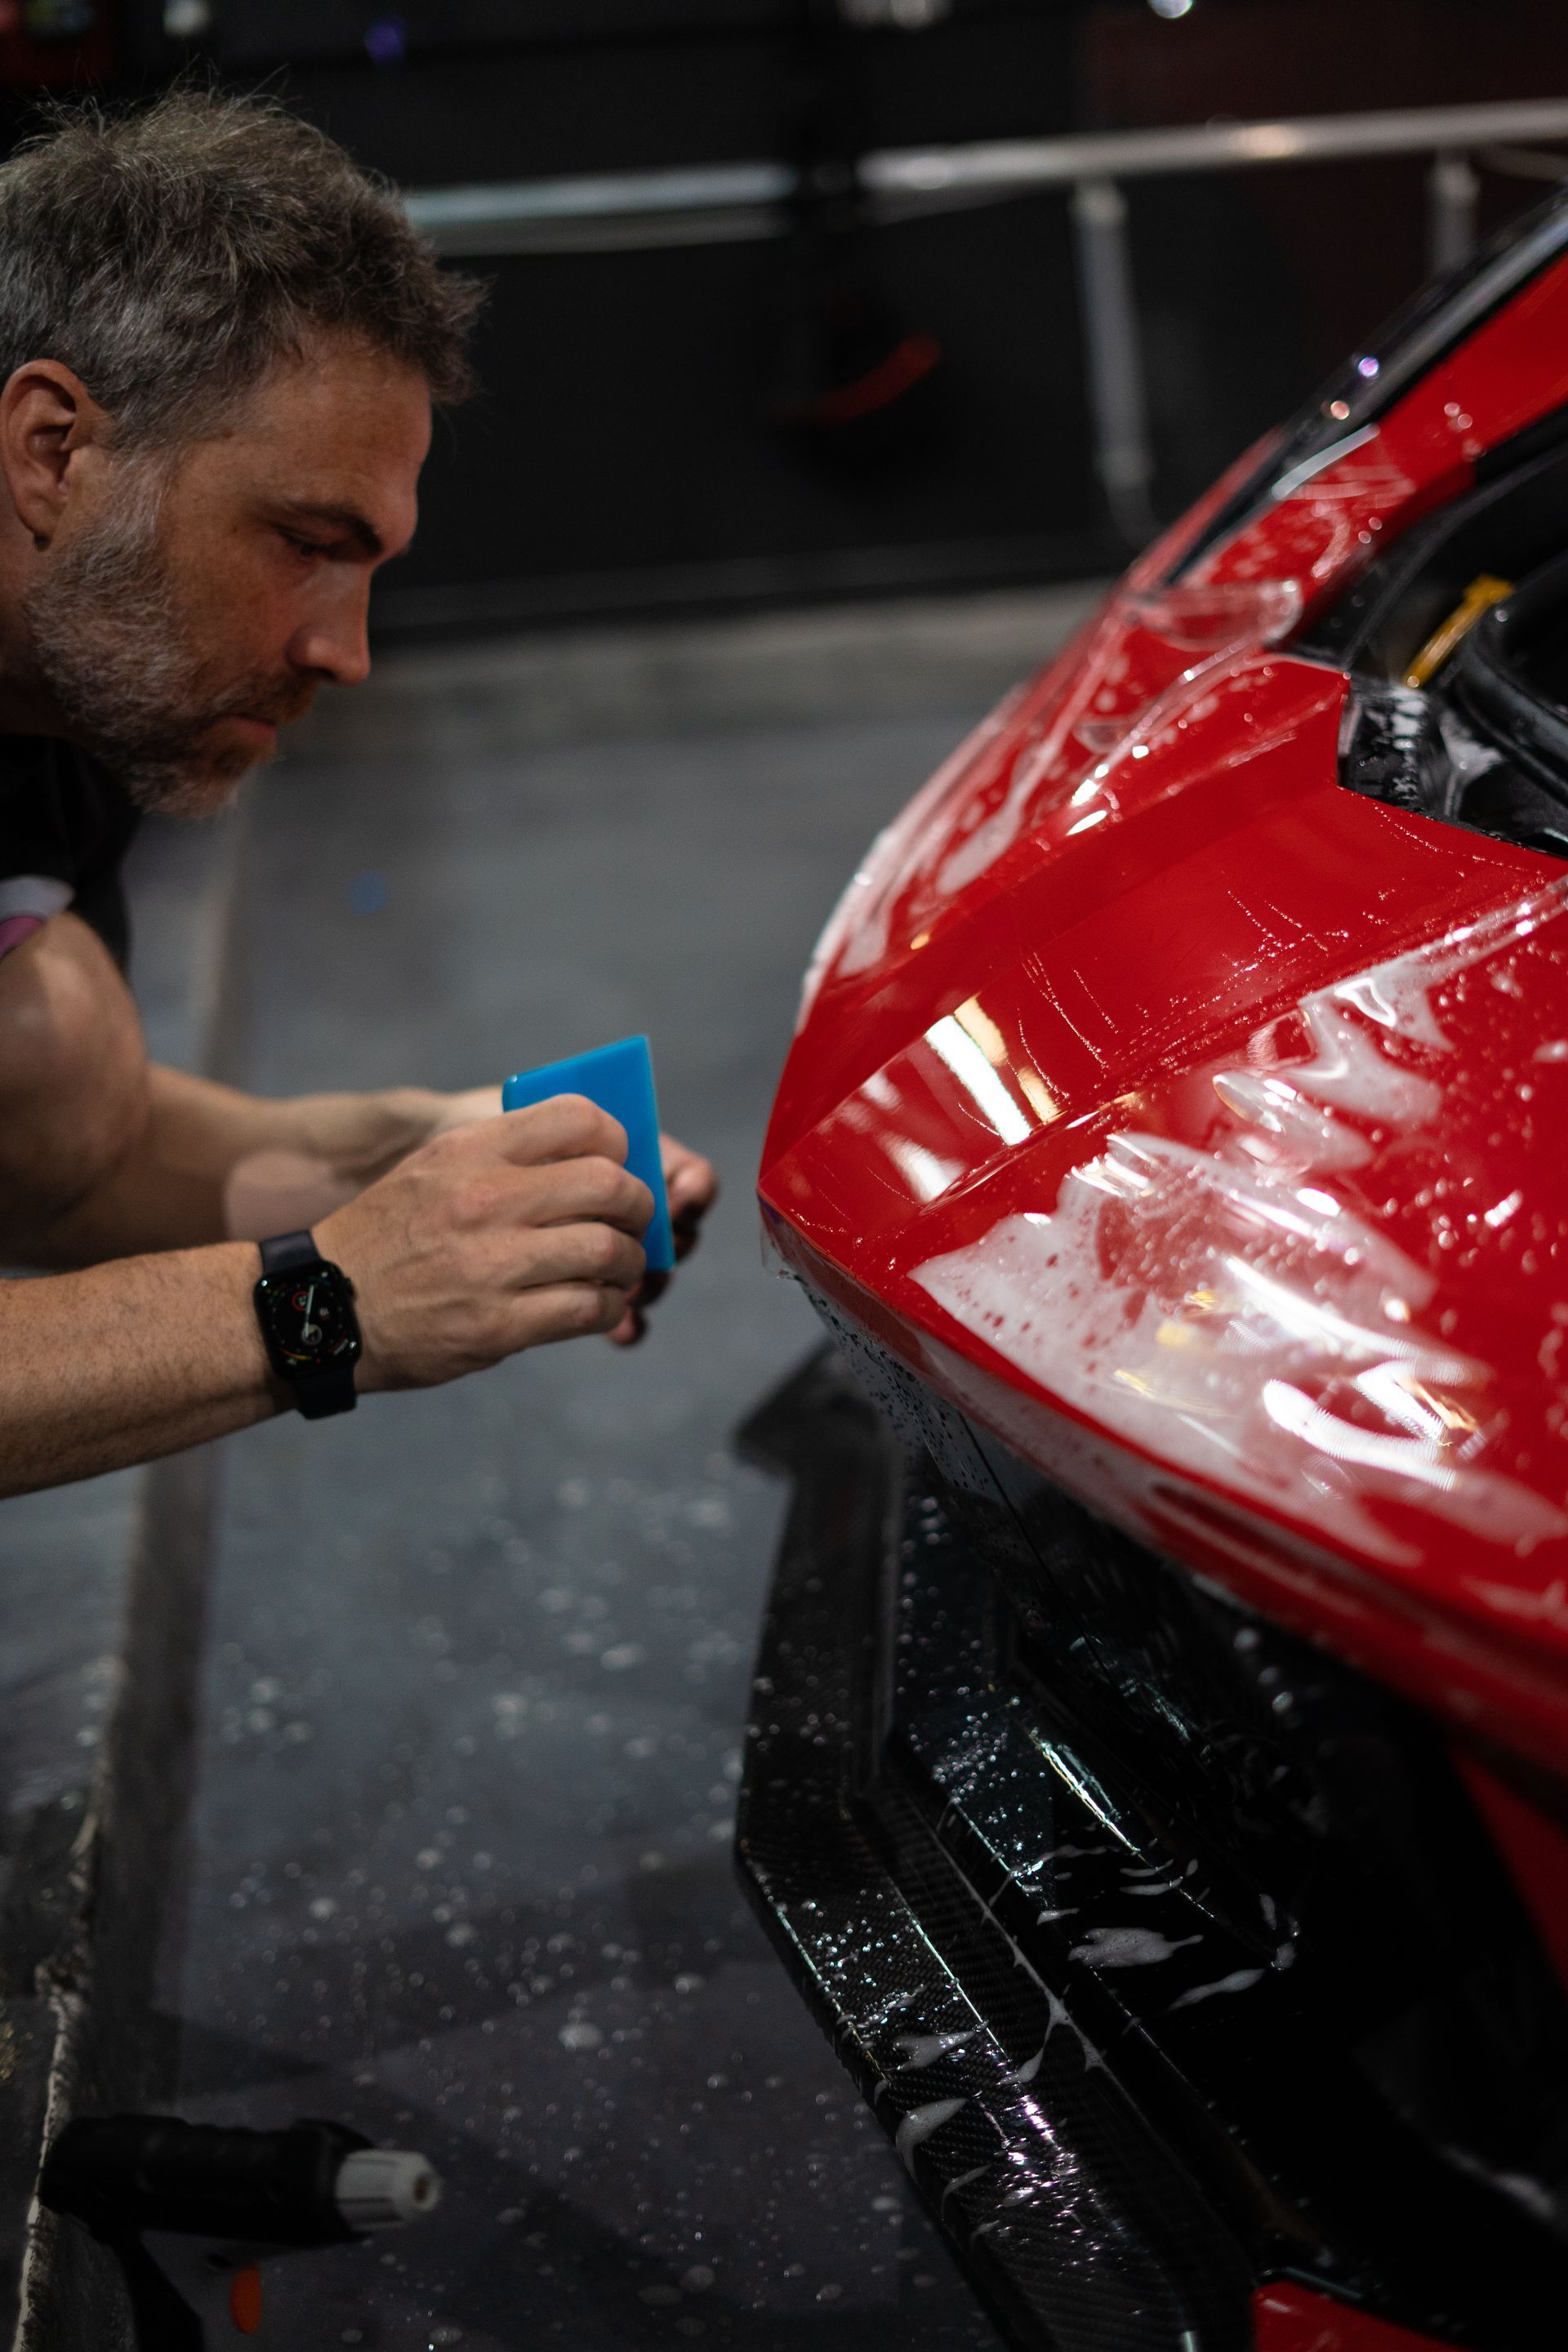
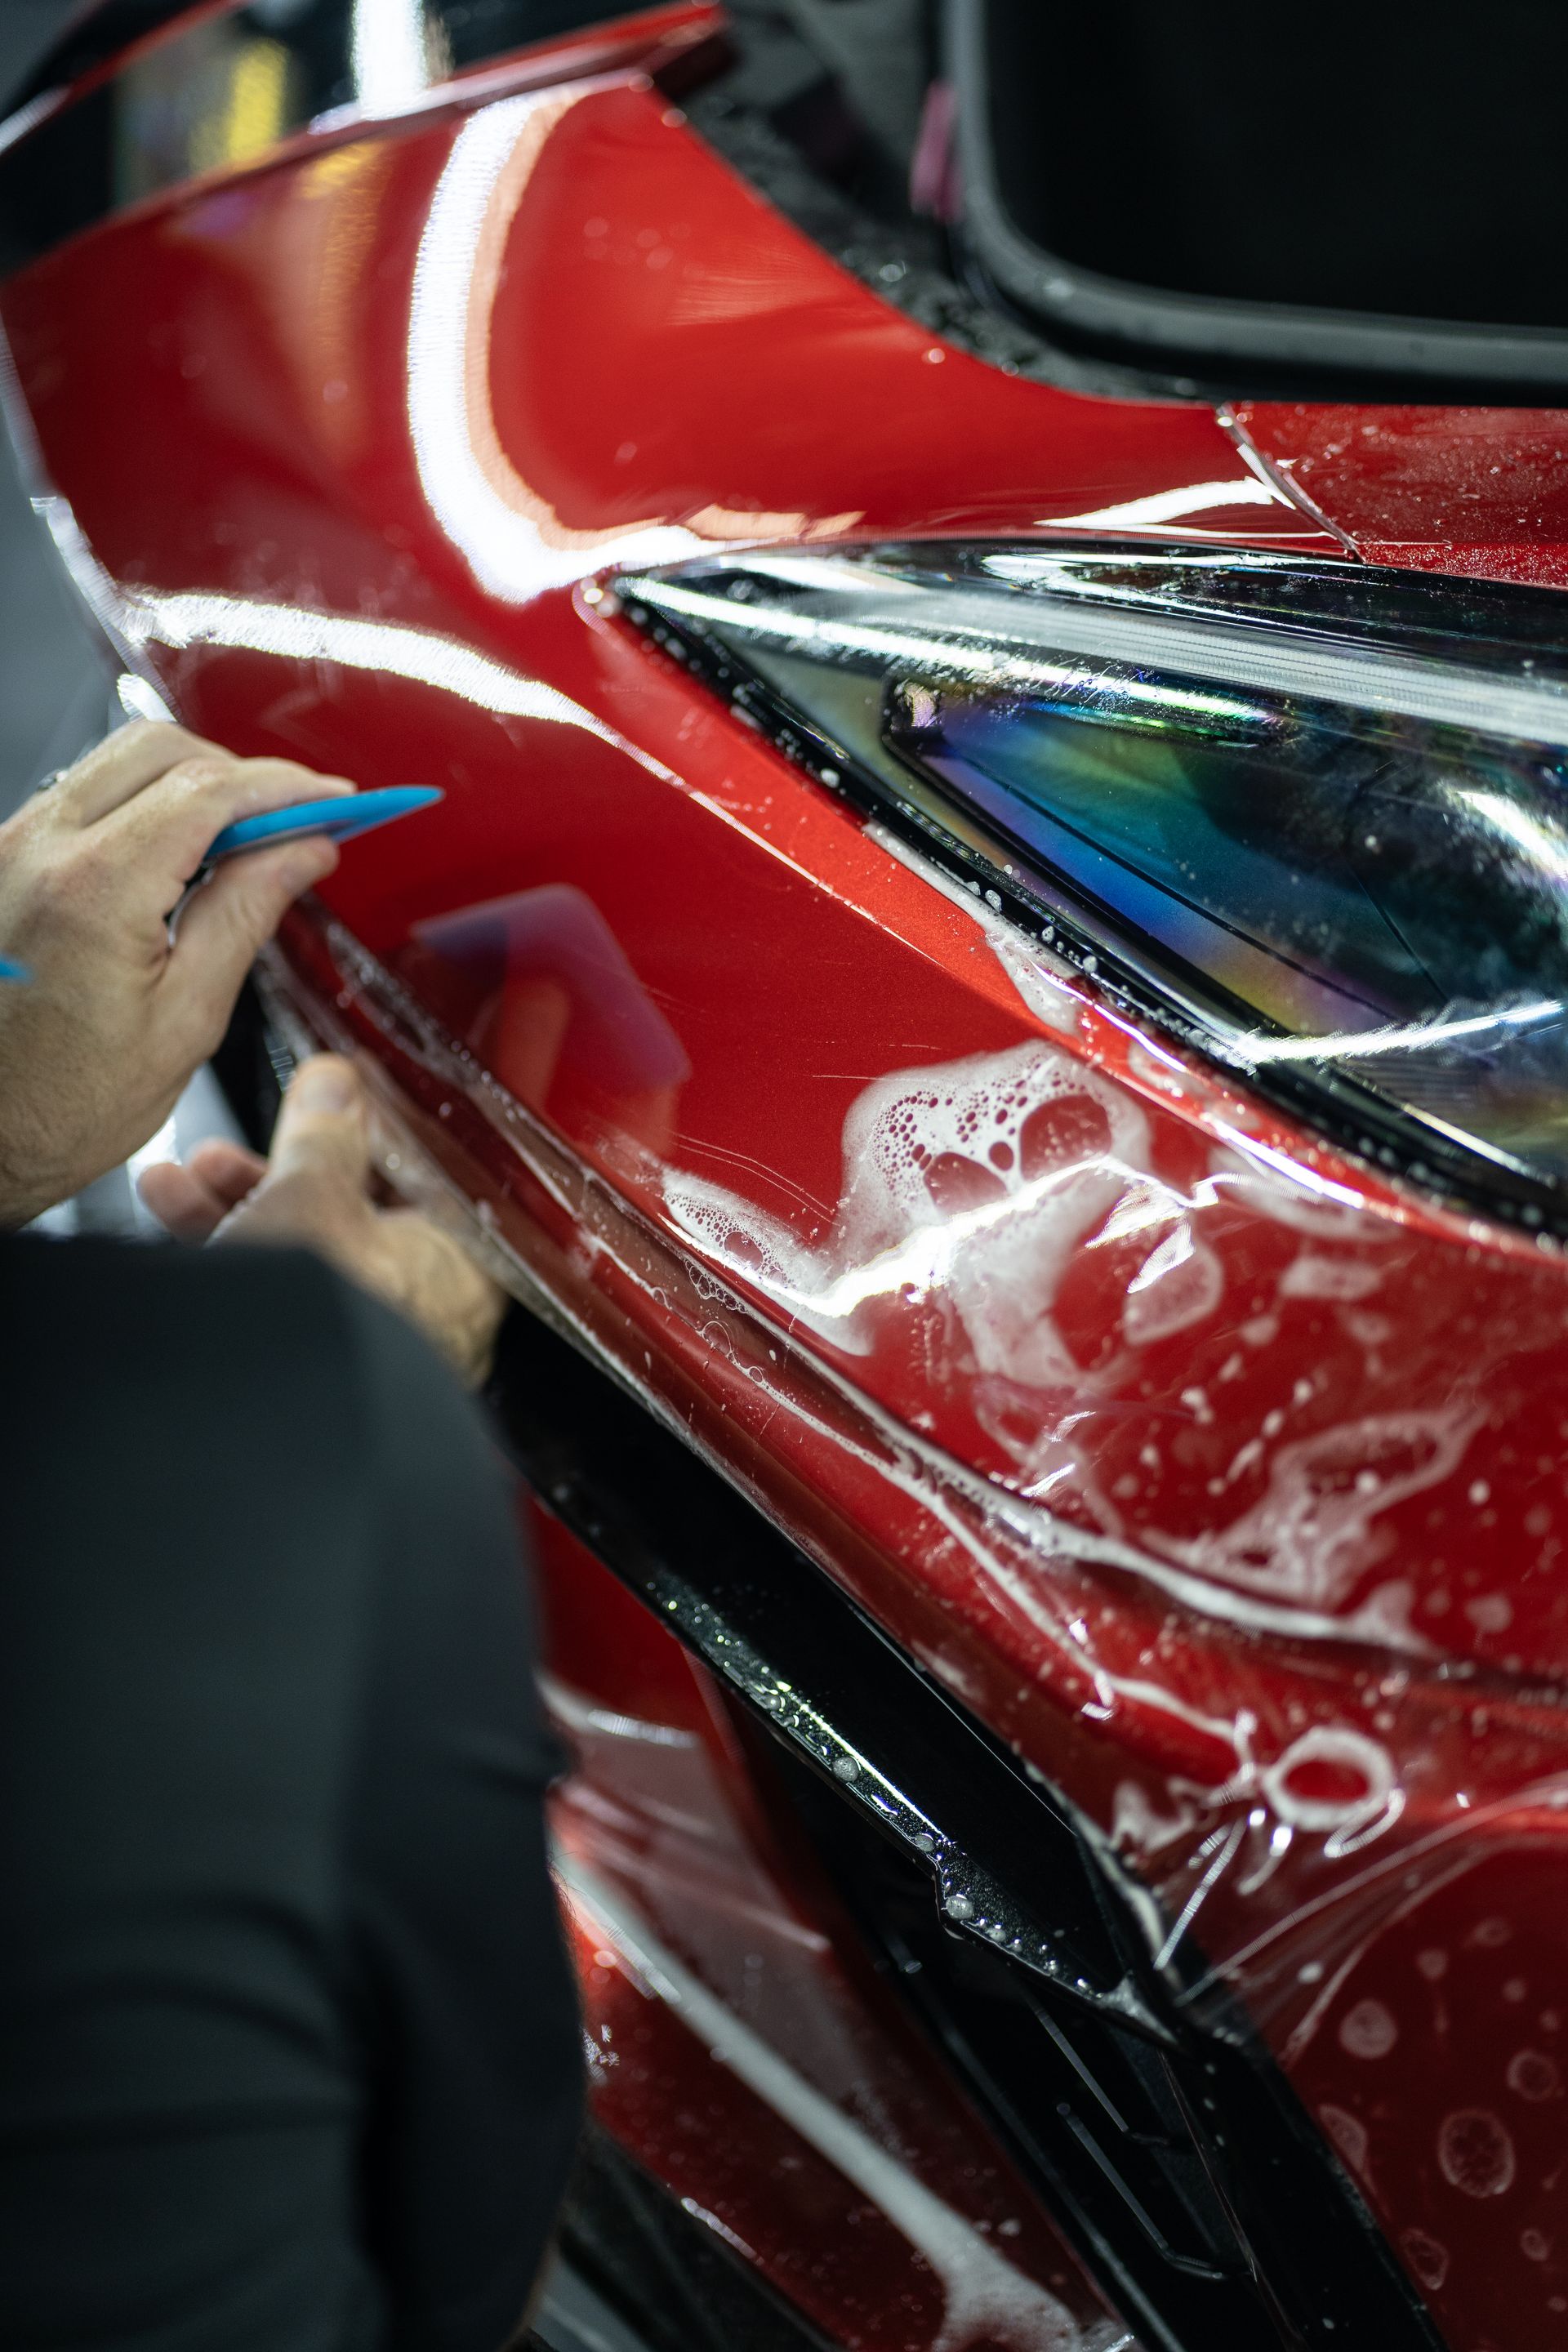
Lift lines emerge when paint protection film fails to adhere fully at the edges or seams, causing it to peel or bubble over time. This represents both an aesthetic concern and a durability issue that significantly shortens your film's protective lifespan. Professional installers address this challenge through precise edge sealing techniques. They use heat guns to gently soften the film at borders and transitions, creating pliability that allows the material to contour tightly to even the most intricate body panels, curves, and recessed areas. The most important step is to use squeegees or hard cards wrapped in microfiber cloths to apply steady, firm pressure. This protects against scratching while securing the film down firmly. The delicate balance between heat and pressure locks the edges in place, preventing air from creeping beneath over time. What appears as a simple finishing touch actually requires nuanced technique developed through extensive experience. Too little heat or pressure leaves edges loose and vulnerable. Too much can damage the film surface or cause unwanted wrinkles.
Experienced installers read subtle signs during installation and adjust their approach accordingly, often combining careful stretching with precise tool pressure. This hands-on expertise transforms potential weak points into snug seals that resist lifting for years. Handling unique or complex vehicle body shapes demands even greater attention. Custom-cutting films to exact dimensions and trimming edges meticulously prevents overlap or gaps that invite lift lines. This extra step ensures proper alignment where air pockets cannot form later. While pre-cut kits offer convenience for standard vehicle coverage areas, seasoned professionals favor precision-tailored cuts that reduce complications and enhance long-term adhesion around mirrors, door handles, bumpers, and other challenging areas.
Preventing and Fixing Bubbles
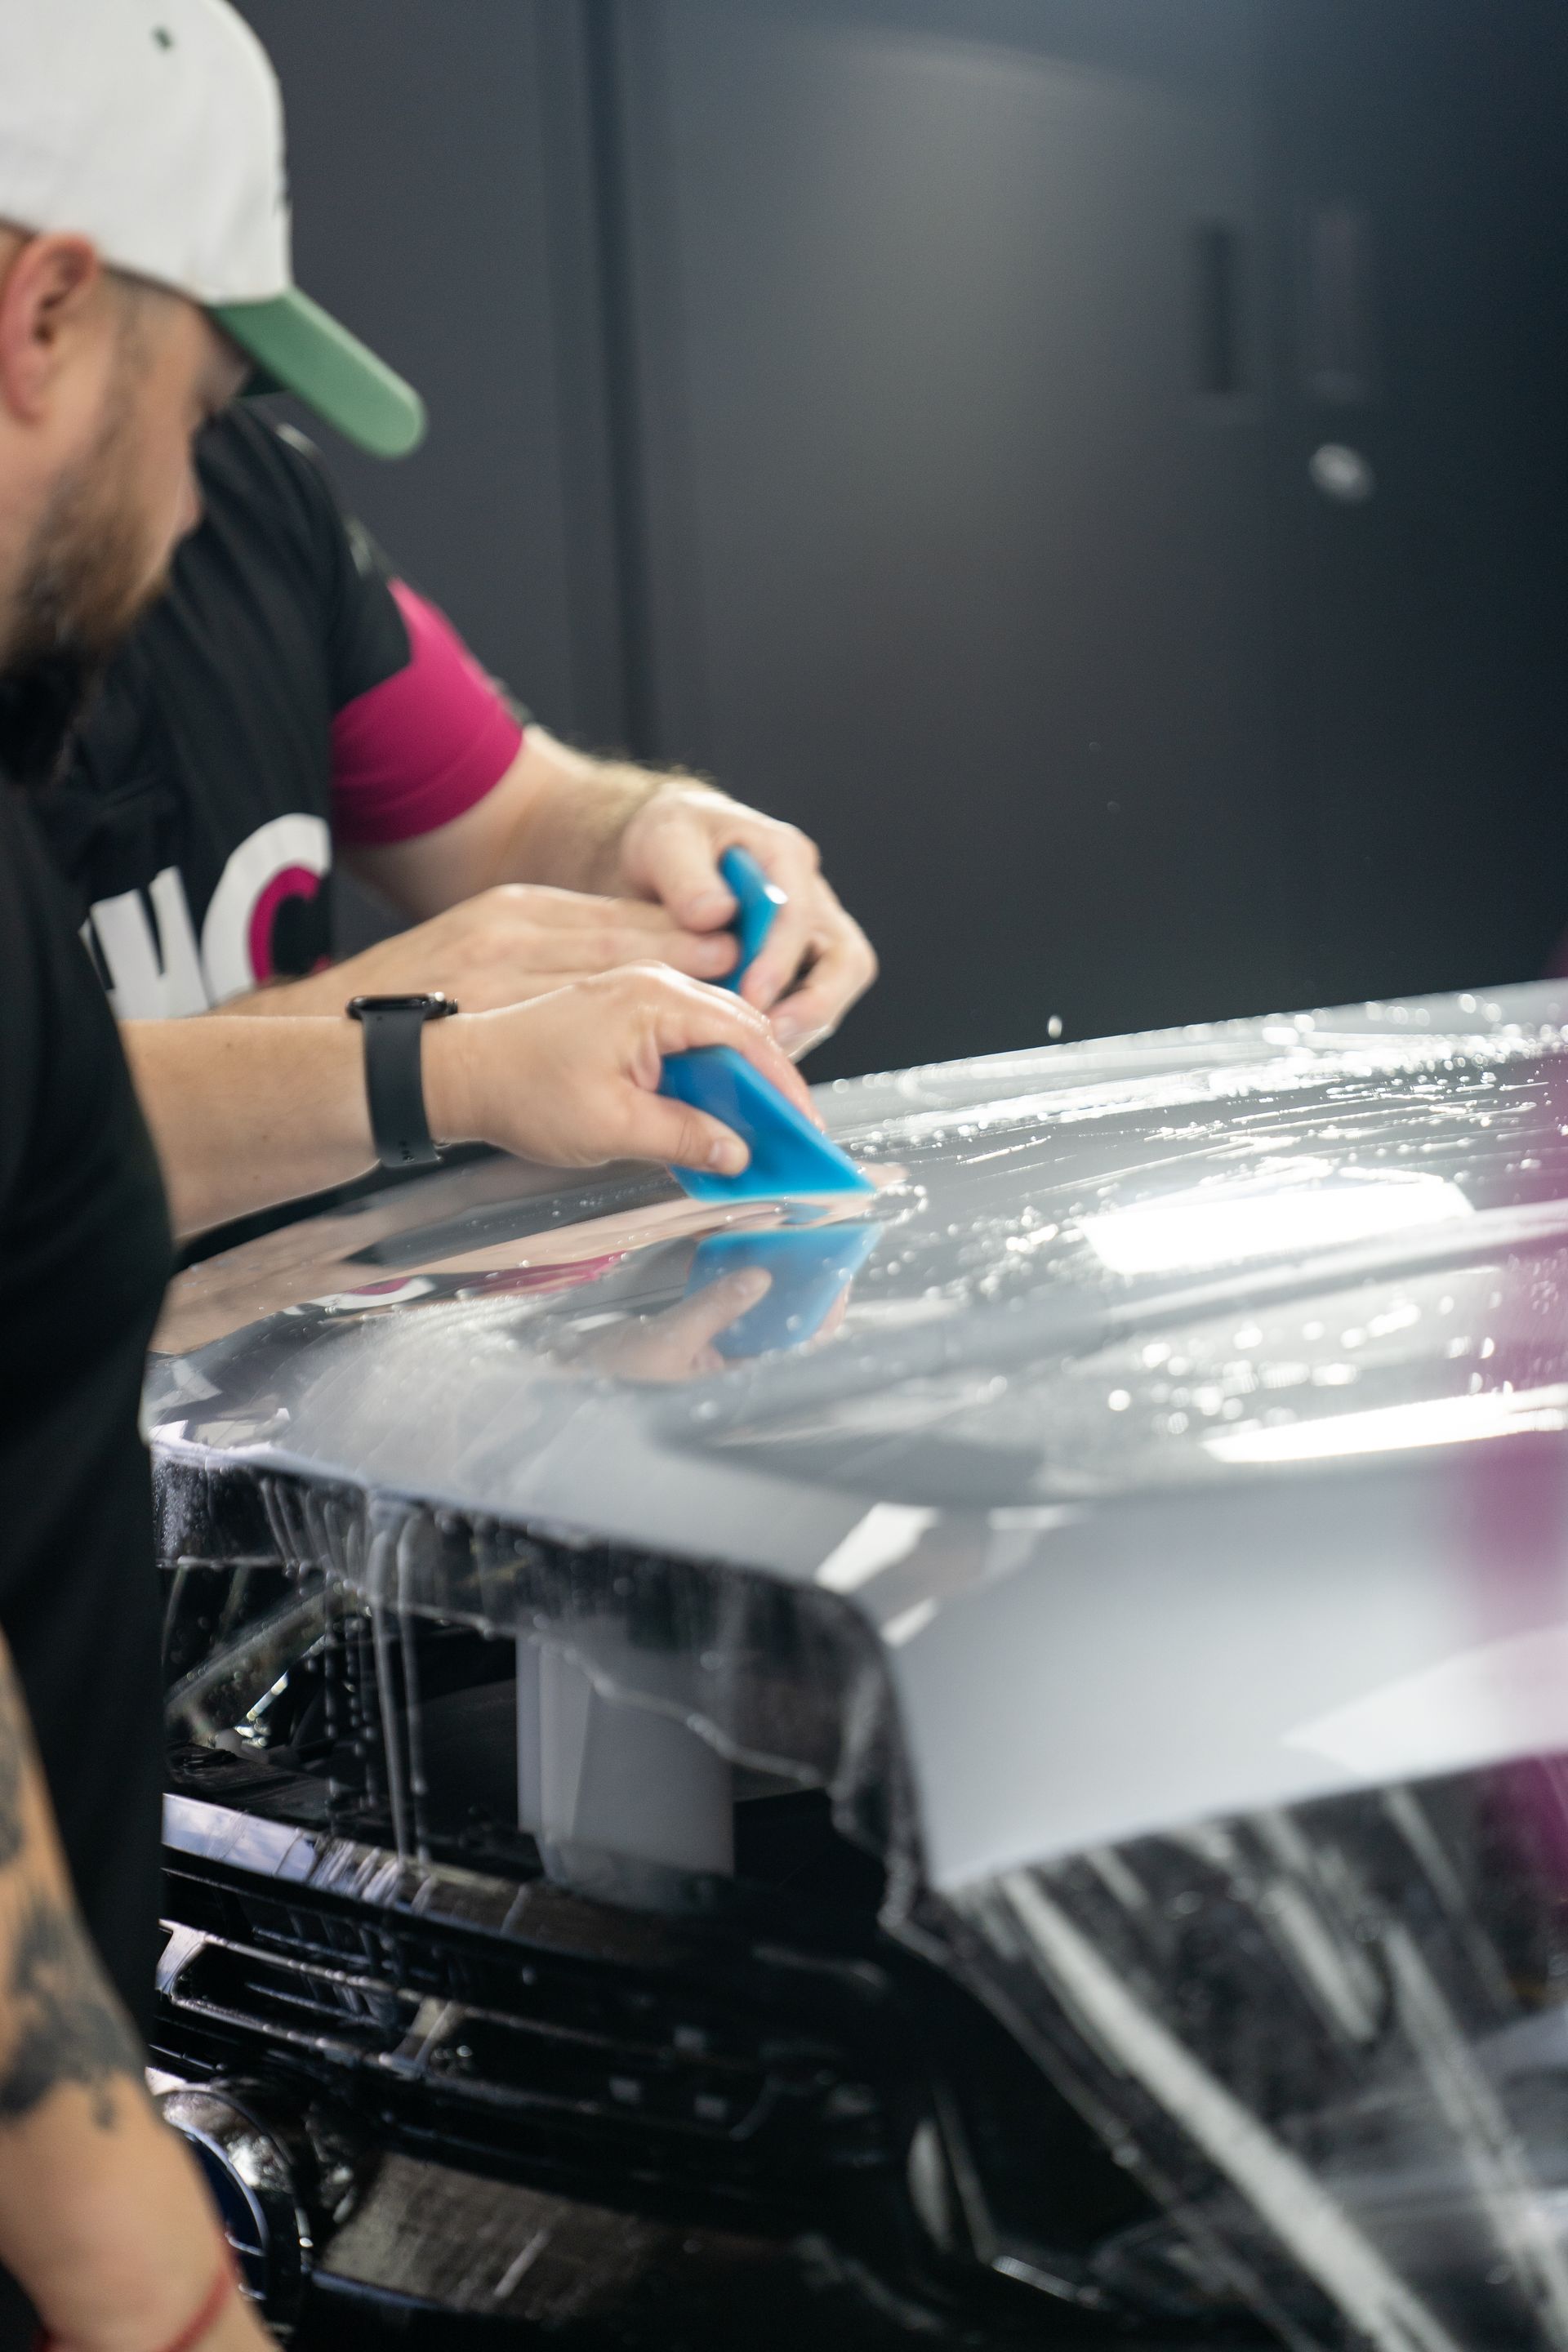
Bubbles form when tiny pockets of air or moisture get trapped between the protective film and painted surface. These imperfections compromise both the appearance and the effectiveness of your investment. Preventing bubbles relies heavily on preparation and technique during installation. Professional installers depend on slip solution sprayed generously on both paint and film to provide essential maneuverability before the material sticks permanently. This fluid layer allows smooth repositioning that minimizes air pockets before pressing the film down. However, slip solution alone never guarantees success. Evenly applied pressure with a quality squeegee truly seals the installation. The objective is carefully but firmly pushing all trapped air toward the edges while expelling excess moisture. Achieving consistent results requires developed muscle memory and patience. Rushing this critical step risks leaving behind bubbles that grow larger over time. Expert installers often wrap squeegees in soft cloths to avoid scratching delicate film while maintaining firm, consistent pressure that leaves nothing between paint and protection film.
Despite best efforts, bubbles sometimes appear after installation as adhesive dries or temperature changes cause expansion and contraction. When this happens, proven methods can fix these issues without requiring complete reinstallation. First, carefully assess each bubble's size and location, as larger ones need more cautious handling. Then, use a fine needle to gently pierce just at the bubble's edge, creating a tiny escape route for trapped air or moisture. Once pierced, applying gentle pressure coaxes out what remains inside without damaging film integrity. Applying low heat from a heat gun warms the adhesive beneath, making it pliable again for better adhesion. This final step allows smooth re-squeegeeing over that area, eliminating bumps and restoring a clean finish. These fixes stem from understanding how protection film behaves under tension and temperature changes. Success depends on working methodically, focusing on small sections, and knowing your tools thoroughly. If persistent bubbles resist these methods, it could signal more profound issues like poor surface preparation or contaminated paint surfaces. These problems deserve attention upfront rather than attempting repairs afterward.
Professional Application Techniques
The foundation of professional installation lies in preparation and control. If the painted surface contains wax, polish residue, dirt, or even microscopic particles, no amount of skill produces proper adhesion without imperfections. Starting with thorough paint decontamination and cleaning using appropriate products ensures the adhesive bonds uniformly without unexpected bumps or contamination underneath. Paint correction may be necessary before film application to ensure the surface is perfectly smooth and free of defects that could telegraph through the protection film. Once the surface is perfectly prepared, positioning becomes paramount. Using masking tape as a hinge point holds film in place, allowing precise alignment before commitment. This approach transforms potentially frustrating guesswork into a controlled, adjustable setup. Applying a slip solution acts as invisible lubrication, providing the invaluable ability to slide and shift film gently into the perfect position without premature sticking. This liquid layer prevents instant adhesion, enabling you to smooth out wrinkles progressively.
With everything aligned, the squeegee becomes your most important tool. Starting from the center and working outward pushes trapped air toward edges where it escapes cleanly. Angle and pressure matter significantly. Excessive force risks stretching or damaging film. Insufficient pressure leaves bubbles trapped below. Professional installers develop practiced rhythm through experience, pressing firmly but evenly to create sleek, bubble-free finishes that follow every contour of your vehicle's body panels. Finally, trimming excess film with sharp blades refines the job for crisp edges and ensures no loose sections that might peel over time. Dull tools create ragged cuts that lift or fray, undermining all previous careful work. Maintaining fresh, sharp blades represents a small step with substantial payoff. Proper tucking techniques around edges, door jambs, and panel gaps ensure complete coverage without visible seams or vulnerable areas.
Expert Methods and Environmental Control
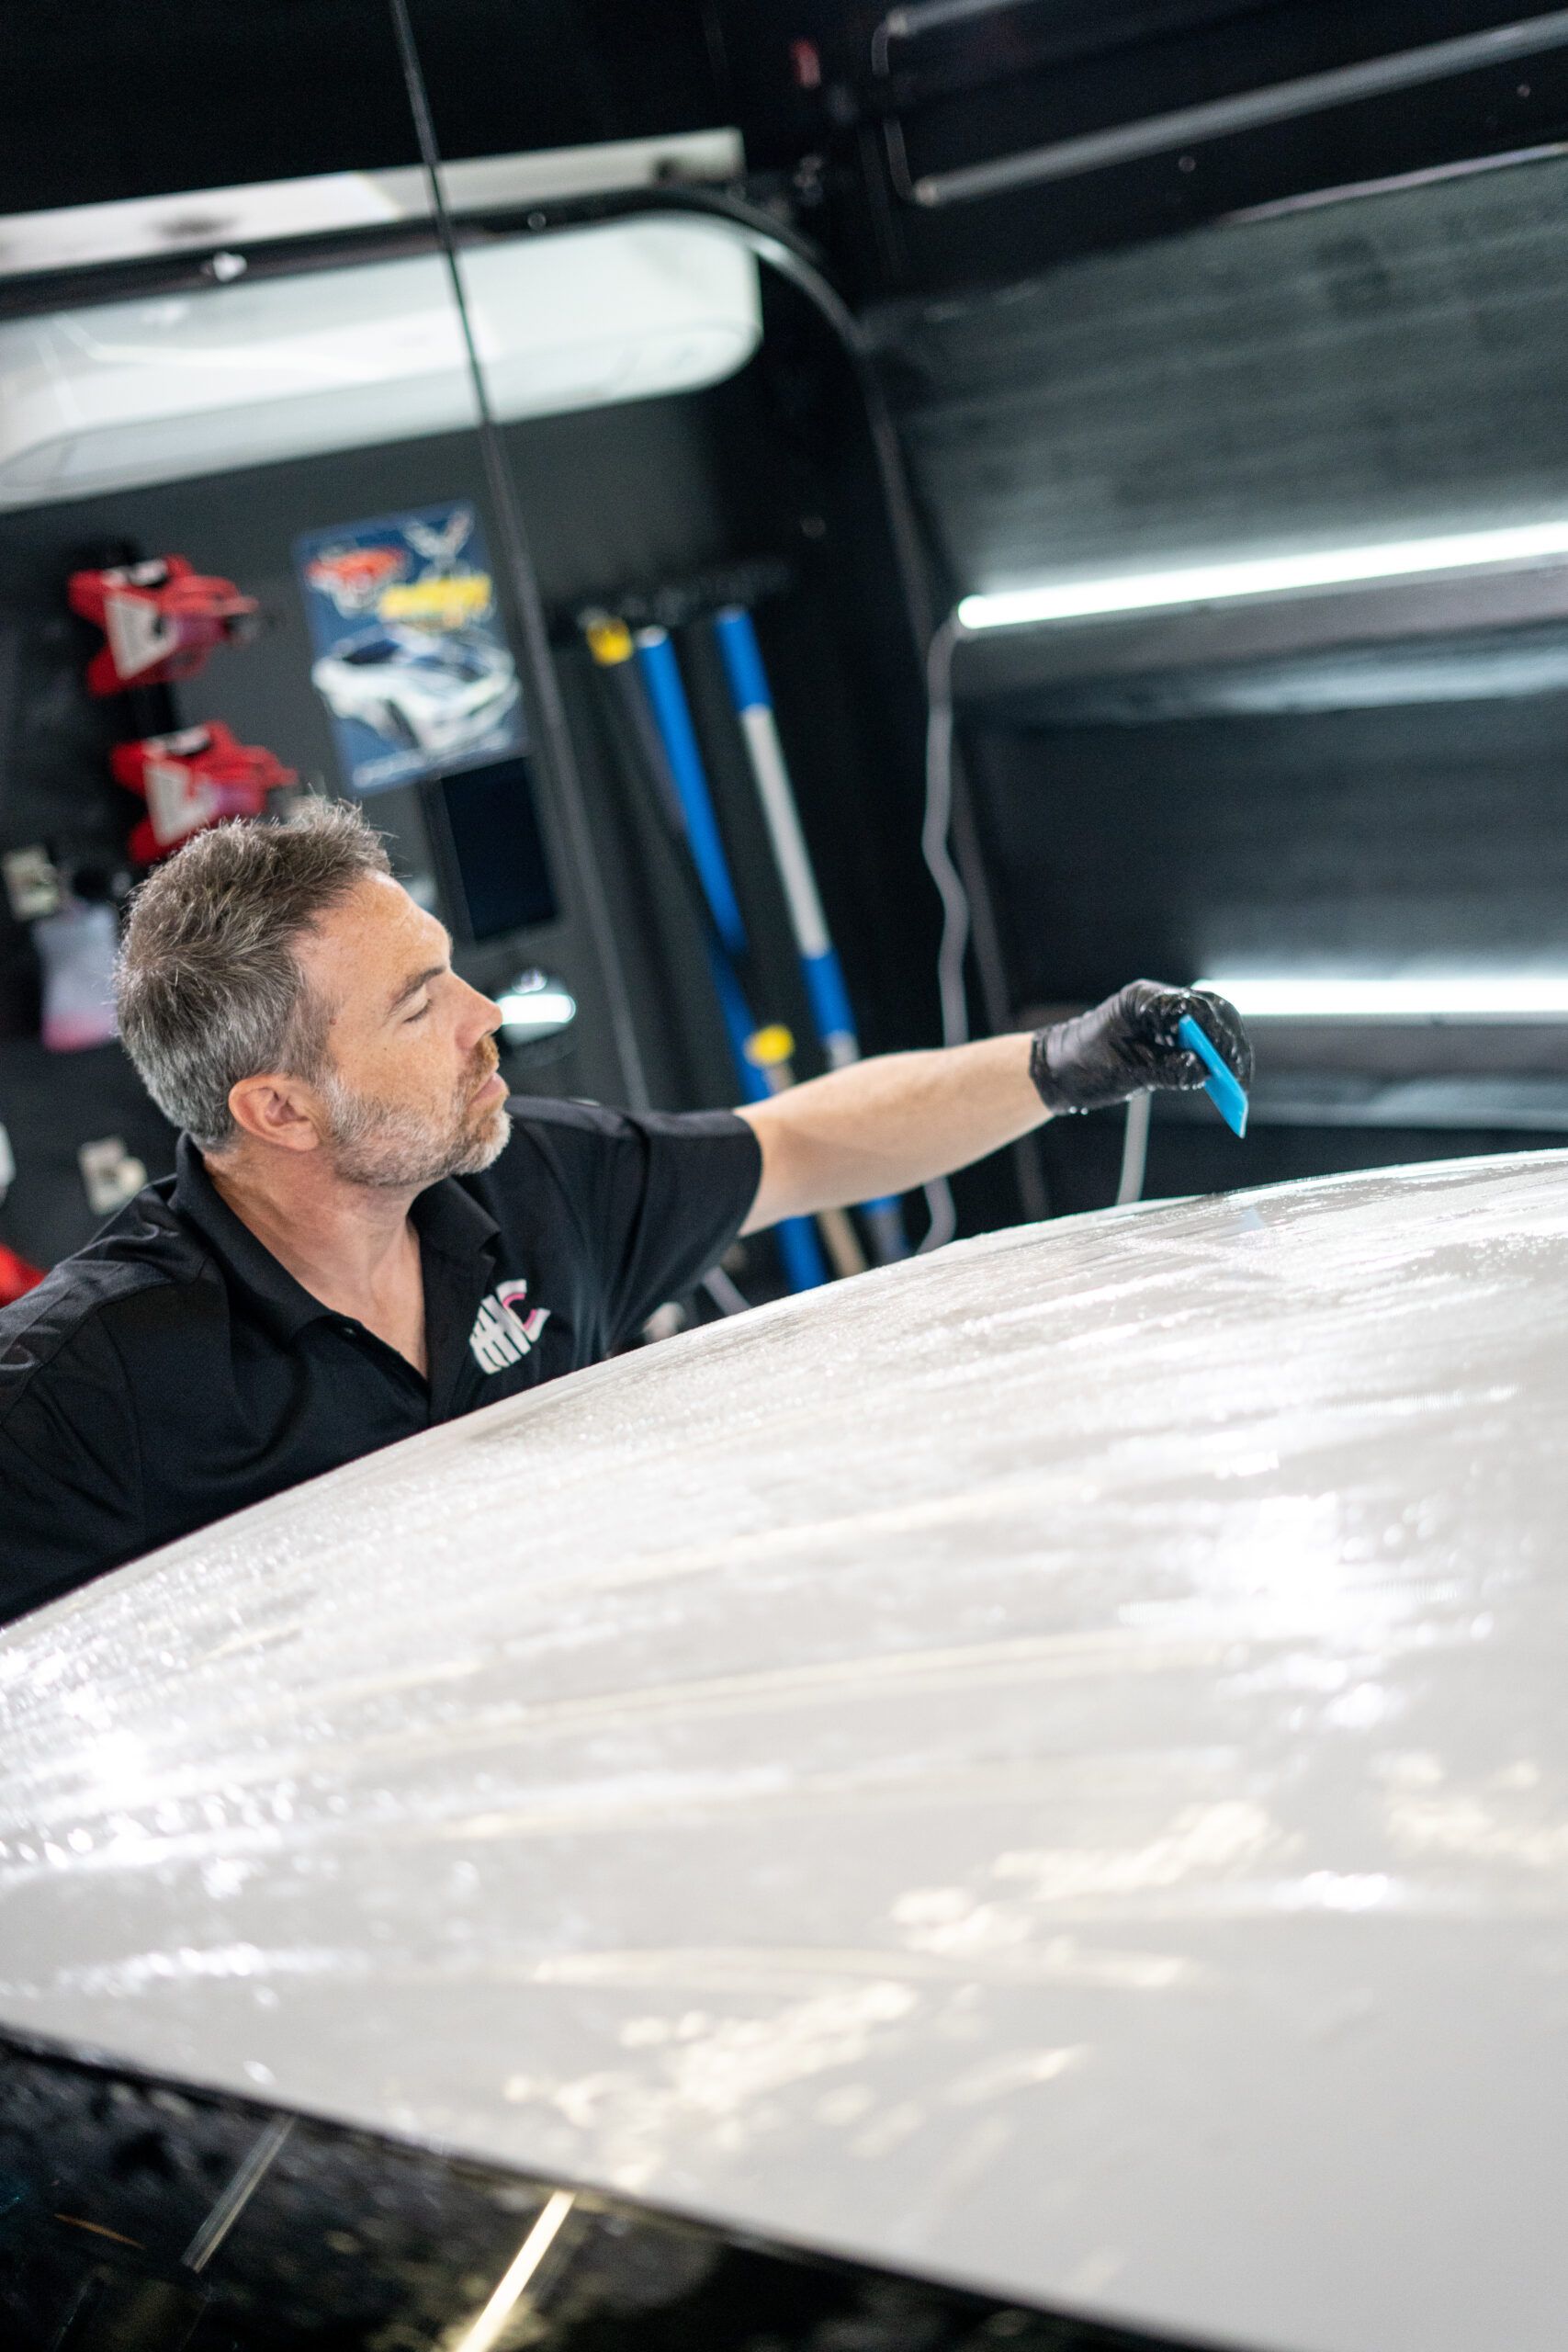
Preventing silvering, lift lines, and bubbles requires precise control over every installation aspect. Experienced professionals sometimes employ advanced techniques like needle venting, where tiny, nearly invisible punctures release trapped air or moisture. This delicate practice helps resolve persistent bubbles that resist standard smoothing methods. However, because it risks film damage if performed carelessly, it remains a specialized skill reserved for steady hands and keen judgment. For most installers, focusing on foundational best practices delivers consistent success. Premium-quality tools make a substantial difference. Squeegees fitted with soft, microfiber covers minimize scratches on delicate film surfaces. High-grade heat guns allow precise temperature adjustments crucial for softening film without causing discoloration or damage. Specialized cutting blades ensure clean, accurate trimming without scratching paint underneath. Beyond tools, creating controlled environments during installation proves critical. Keeping humidity low and temperatures stable, ideally between 60 and 80 degrees Fahrenheit, prevents premature curing or moisture accumulation beneath film. Both represent common causes behind unwanted defects.
Applying consistent pressure with the squeegee as you work outward from each panel's center remains essential. Uneven pressure traps air pockets, leading to lifted edges or streaky adhesion visible as lift lines. To maintain uniformity, professionals pace themselves deliberately, allowing each pass to firmly bond film before advancing. Proper lighting plays a surprisingly pivotal role. Well-placed bright, diffuse light sources illuminate surface subtleties like tiny bubbles or silvering spots that otherwise hide in shadows during installation. Temperature control deserves special attention since installing film in excessively cold or hot conditions affects flexibility and bonding ability. Cold temperatures make film rigid and prone to cracking or lifting when stretched around curves. Excessive heat softens material excessively, making even application difficult without causing wrinkles or stretching distortions. Many experts install paint protection film inside climate-controlled environments where environmental factors receive careful regulation. This consistently produces smoother finishes and longer-lasting results that withstand years of driving conditions.
Post-Installation Care and Troubleshooting
After completing the application, film needs time to bond securely with painted surfaces. Experts recommend avoiding washing your vehicle for at least 48 hours and keeping it out of extreme weather conditions during this initial curing period. This hands-off approach prevents peeling triggered by premature stress on still-curing adhesives. Using heat guns judiciously can accelerate curing, especially in cooler environments, but requires skill to avoid warping or discoloring film. Even excellent installations sometimes encounter problems. Silvering happens when microscopic air pockets form between film and paint, usually from insufficient pressure during application or contaminated surfaces. This creates a milky haze that dulls appearance and reduces the film's optical clarity. The solution involves patience and precision through quality squeegee work applying firm, even pressure. If silvering appears afterward, carefully re-squeegeeing with consistent heat can encourage adhesive back into close contact with paint.
Lift lines represent another common challenge, appearing as raised edges where film starts separating from the painted surface. These typically result from poor edge sealing during application or environmental factors like humidity causing material expansion and contraction. Heat guns prove indispensable here. Gentle warming combined with careful pressing along lift lines encourages adhesive to rebond firmly without warping film. Ignoring lift lines invites worsening peeling and a shortened protective lifespan. Bubbles remain the most notorious issue, caused by trapped air or moisture during installation. Addressing them usually involves pricking bubbles delicately with a pin, then using heat alongside a squeegee to push residual moisture or air toward edges. Learning to identify root causes quickly represents half the battle. Thorough surface cleaning and paint preparation before installation remain your first defense. Contaminants and residues compromise adhesion from the start. Using proper paint preparation products and lint-free cloths ensures pristine bases for film.
The Value of Professional Installation
Mastery over these techniques transforms paint protection film installation from a risky endeavor into a dependable investment in vehicle preservation and value retention. The lasting beauty and protective functionality of your film depend on both expert application and proper care throughout its lifespan. Professional installers combine knowledge of materials, environmental control, and refined hand skills to deliver every advantage modern protection films offer, including superior impact resistance, self-healing properties, and long-term paint preservation.
When you choose professional paint protection film services, you invest in expertise that prevents costly mistakes and ensures results that enhance your vehicle's value and appearance. The difference between amateur attempts and professional installation becomes evident immediately and grows more apparent over time as properly installed film maintains its clarity, protection, and performance for years. Quality installation protects your investment and provides the peace of mind that comes with knowing your vehicle has received expert attention to detail. Whether you drive a classic car, luxury vehicle, or high-performance sports car, professional paint protection film installation delivers the flawless finish and reliable protection your investment deserves. The combination of meticulous preparation, skilled application, and proper curing ensures your vehicle's paint remains protected against chips, scratches, and environmental damage while maintaining the showroom appearance you value.
Best PPF in Harker Heights, TX
If you want long-lasting protection and a cleaner, sharper finish for your vehicle, Harker Heights Ceramic Coatings delivers
top-tier paint protection film services trusted by drivers across Harker Heights, TX. Their expert installation helps shield your paint from everyday wear, road hazards, and harsh Texas conditions while preserving the beauty of your factory finish. With precision techniques and premium materials, your vehicle gets the coverage it deserves for years of confidence on the road.
Schedule your PPF installation today and give your ride the protection it was built for!